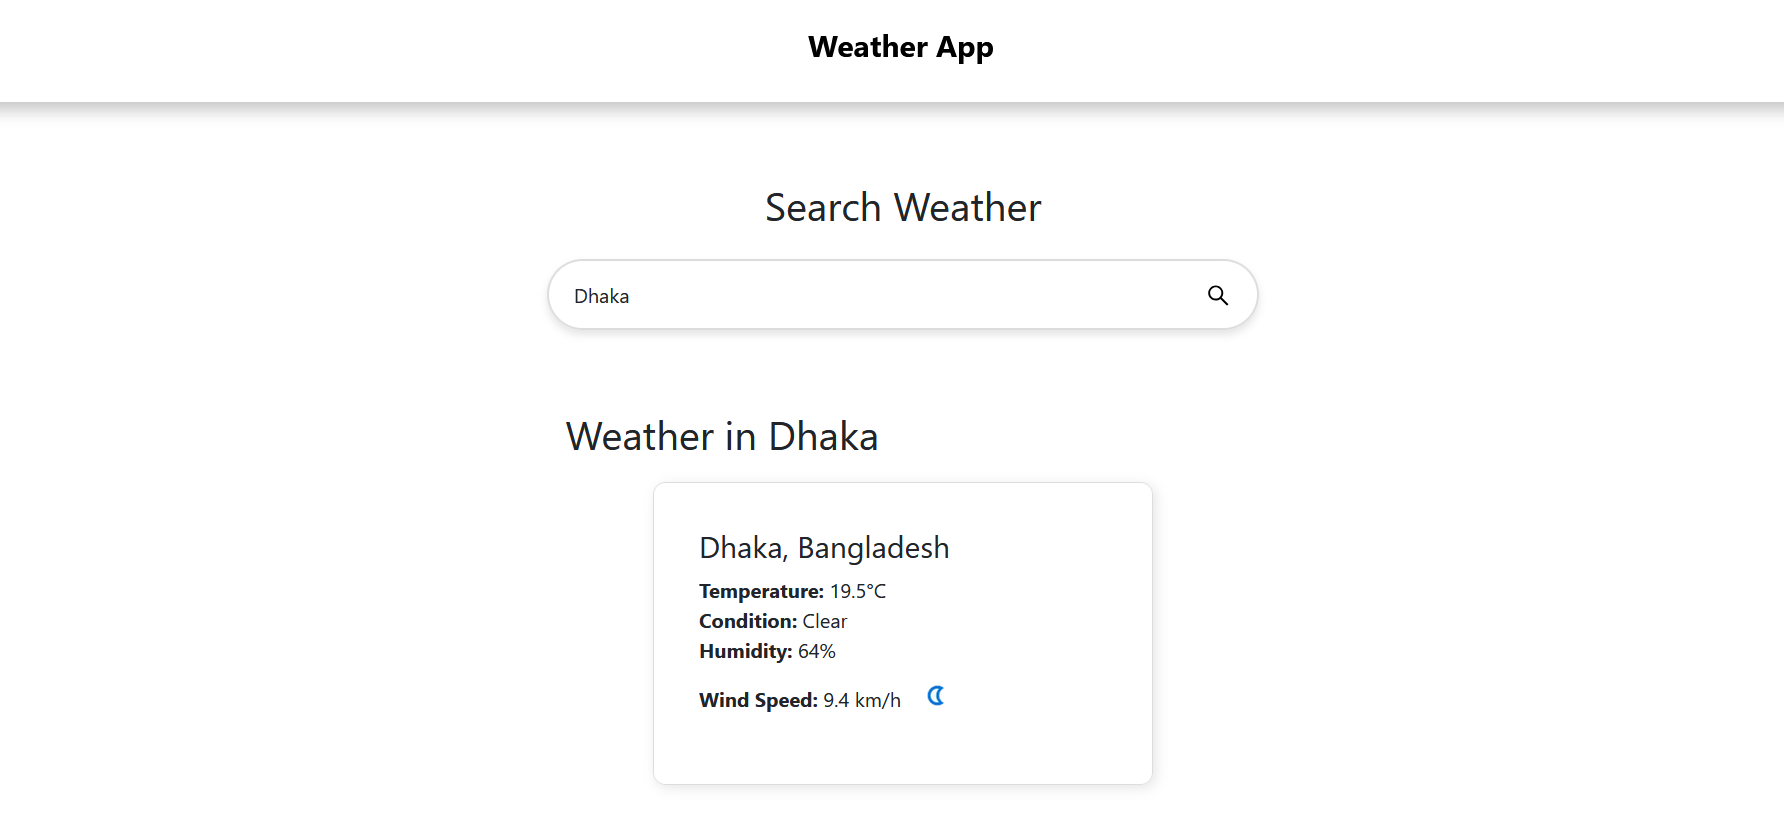
API Based Weather Application with Angular
This step-by-step guide will teach you how to create a API Based Weather Application using Angular, Shows Live Temperature of the City
Tutorial Steps
Download Tutorial
Step 1 – Create Angular App
Run the following command to create a new Angular project:
ng new weather-app --no-standalone --routing --ssr=falseRun the following command to install jquery, popperjs, and bootstrap :
cd weather-app
npm install jquery --save
npm install @popperjs/core --save
npm install ngx-bootstrap bootstrap@latest
ng add ngx-bootstrap
Run the following command to install Angular Ant Design:
ng add ng-zorro-antdYour Application Folder Structure will be like:
src
├── app
│   ├── home
│   │   ├── home.component.html
│   │   ├── home.component.css
│   │   └── home.component.ts
│   ├── service
│   │   └── weather-api.service.ts
│   ├── app.component.html
│   ├── app.component.ts
│   ├── app.module.ts
│   ├── app-routing.module.ts
├── index.html
├── style.css
Step 2 – Project Setup
Copy and Paste following code styles section of angular.json file:
"./node_modules/bootstrap/dist/css/bootstrap.min.css"
Copy and Paste following code script section of angular.json file:
"./node_modules/jquery/dist/jquery.min.js",
"./node_modules/bootstrap/dist/js/bootstrap.bundle.min.js"
Step 3 – Create Home Component for Dashboard
Create Home Component for Dashboard with the following command:
ng generate component --skip-tests=true homeYou will get:
home.component.html
home.component.css
home.component.ts
Copy and Paste the following code to home.component.html:
<div class="container mt-5">
  <h2 class="text-center mb-4">Search Weather</h2>
  <div class="search-container">
    <form (submit)="searchCity()" class="search-form">
      <input
        type="text"
        [(ngModel)]="cityName"
        name="city"
        class="search-input"
        placeholder="Enter city name"
      />
      <button type="submit" class="search-btn">
        <span nz-icon nzType="search"></span>
      </button>
    </form>
  </div>

  <div class="container text-center mt-5" *ngIf="weatherData">
    <h2>Weather in {{ weatherData.location.name }}</h2>
    <div class="card">
      <div class="card-body">
        <h4 class="card-title">{{ weatherData.location.name }}, {{ weatherData.location.country }}</h4>
        <strong>Temperature:</strong> {{ weatherData.current.temp_c }}°C<br />
        <strong>Condition:</strong> {{ weatherData.current.condition.text }}<br />
        <strong>Humidity:</strong> {{ weatherData.current.humidity }}%<br />
        <strong>Wind Speed:</strong> {{ weatherData.current.wind_kph }} km/h
        <img
          [src]="weatherData.current.condition.icon"
          alt="weather icon"
          class="img-fluid"
        />
      </div>
    </div>
  </div>
</div>
Copy and Paste the following code to home.component.ts :
import {Component, OnInit} from '@angular/core';
import {ActivatedRoute, Router} from '@angular/router';
import {WeatherApiService} from "../service/weather-api.service";

@Component({
  selector: 'app-home',
  templateUrl: './home.component.html',
  styleUrls: ['./home.component.css'],
})
export class HomeComponent implements OnInit {
  cityName = '';
  weatherData: any;

  constructor(private router: Router,
              private route: ActivatedRoute,
              private weatherApi: WeatherApiService) {}


  searchCity() {
    if (this.cityName) {
      this.router.navigate(['/'], {
        queryParams: { city: this.cityName },
      });
    }
  }

  ngOnInit() {
    this.route.queryParams.subscribe((params) => {
      this.cityName = params['city'];
      this.getWeatherData(this.cityName);
    });
  }
  getWeatherData(city: string) {
    this.weatherApi.getWeather(city).subscribe((data) => {
      this.weatherData = data;
    });
  }
}
Copy and Paste the following code to app.component.html for Navigation Menu:
 <nav class="navbar navbar-expand-lg sticky-top bg-white">
  <div class="container justify-content-center align-items-center">
    <a class="navbar-brand" href="#">Weather App</a>
  </div>
</nav> Copy and Paste the following code to app-routing.module.ts at import section:
import { HomeComponent} from "./home/home.component"; Copy and Paste the following code to app-routing.module.ts at const routes: Routes section:
{ path: '', component: HomeComponent }, Add following code to app.component.html for Routing to Dashboard:
<router-outlet></router-outlet> Step 4 – Create Service for Weather API
Run following Command to create weather-api service:
ng generate service service/weather-api --skip-tests You will get weather-api.service.ts file in model directory:
Copy and Paste the following code to weather-api.service.ts:
import { Injectable } from '@angular/core';
import { HttpClient } from '@angular/common/http';
import { Observable } from 'rxjs';
@Injectable({
providedIn: 'root',
})
export class WeatherApiService {
private apiKey = 'Your_API_Key';
private baseUrl = 'https://api.weatherapi.com/v1/current.json';
constructor(private http: HttpClient) {}
getWeather(city: string): Observable {
const url = `${this.baseUrl}?key=${this.apiKey}&q=${city}`;
return this.http.get(url);
}
}
Follow these 3 steps to get your API key:
Sign Up and Get API Key
1. Go to https://www.weatherapi.com/.
2. Sign up for a free account.
3. Get your API key from the dashboard.
Step 5 – Add CSS
Copy and Paste the following CSS code to style.css:
/* Responsive container */
.container {
max-width: 600px;
padding: 15px;
margin: auto;
}
/* Weather card responsiveness */
.card {
margin: 20px auto;
max-width: 400px;
padding: 20px;
border: 1px solid #ddd;
border-radius: 10px;
box-shadow: 25px 25px 49px #dedede,
-25px -25px 49px #ffffff;
}
.card-body img {
max-width: 50px;
margin-bottom: 10px;
}
.card-text {
font-size: 14px;
}
/* Responsive Navbar */
@media screen and (max-width: 768px) {
.navbar a, .navbar-brand {
display: block;
text-align: center;
width: 100%;
}
.card {
max-width: 90%;
}
.card-text {
font-size: 12px;
}
}
/* Center and style the search container */
.search-container {
display: flex;
justify-content: center;
align-items: center;
}
/* Form styling */
.search-form {
display: flex;
width: 100%;
max-width: 400px;
position: relative;
}
/* Input styling */
.search-input {
width: 100%;
padding: 15px 20px;
font-size: 16px;
border: 2px solid #dcdcdc;
border-radius: 50px;
outline: none;
transition: all 0.3s ease-in-out;
box-shadow: 0 4px 6px rgba(0, 0, 0, 0.1);
padding-right: 60px;
}
/*Button styling*/
.search-btn {
position: absolute;
right: 10px;
top: 50%;
transform: translateY(-50%);
background-color: #fff;
color: black;
border: none;
border-radius: 50%;
padding: 10px 14px;
font-size: 18px;
cursor: pointer;
display: flex;
align-items: center;
justify-content: center;
}
/* Responsive Design */
@media screen and (max-width: 768px) {
.search-input {
font-size: 14px;
padding: 12px 16px;
}
.search-btn {
padding: 8px 12px;
font-size: 16px;
}
}
.navbar {
box-shadow: 6px 6px 12px #c5c5c5, -6px -6px 12px #ffffff;
}
.navbar-brand {
font-size: 1.5rem;
font-weight: bold;
/*text-indent: 209px;*/
}
.nav-link {
font-size: 1rem;
margin: 0 5px;
}
.nav-link.active {
font-weight: bold;
text-decoration: underline;
}