Digital Diary with Angular (Tutorial Part-2)
This step-by-step guide will teach you how to create a Digital Diary App using Angular, featuring tasks, notes, and reminders.
Tutorial Steps
Download Tutorial
Step 1 – Create Task Component
Create Task Component with the following command:
ng generate component --skip-tests=true tasks You will get:
tasks.component.html
tasks.component.css
tasks.component.ts
Copy and Paste the following code to tasks.component.html:
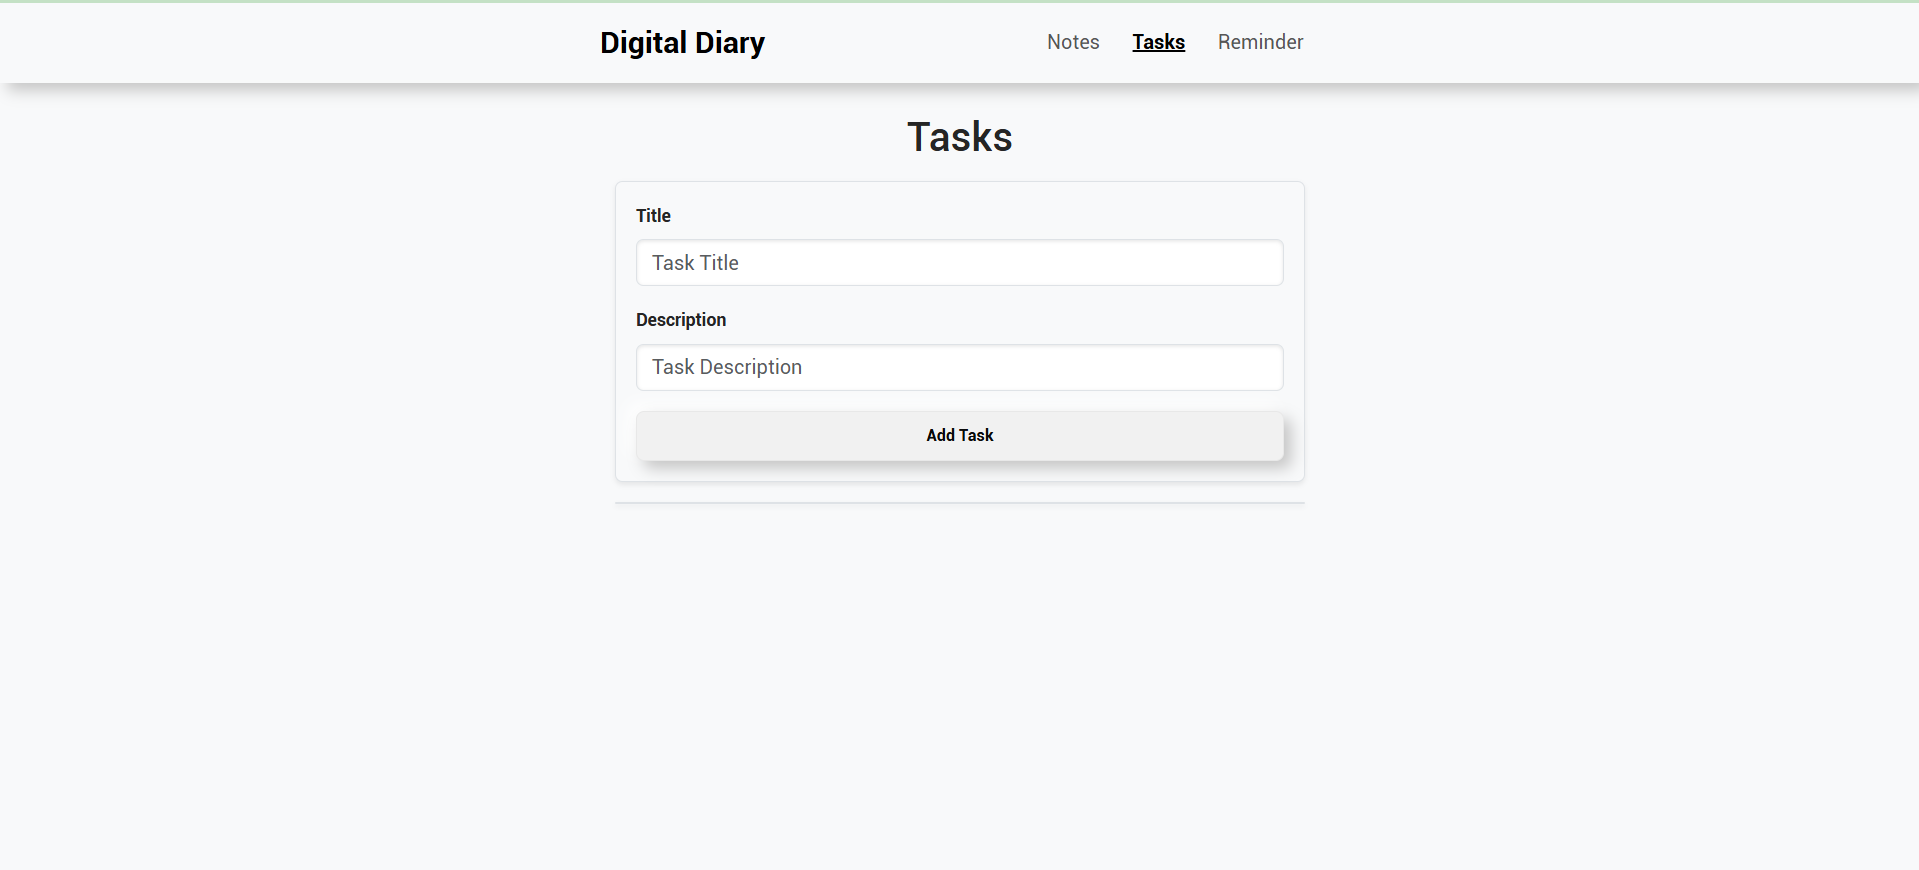
<div class="container mt-4">
  <h2 class="text-center">Tasks</h2>

  <!-- Form to add a new task -->
  <form (ngSubmit)="addTask()" class="p-3 rounded shadow-sm bg-light">
    <div class="mb-3">
      <label for="taskTitle" class="form-label fw-bold">Title</label>
      <input type="text" [(ngModel)]="newTask.title" name="taskTitle"  class="form-control"
             placeholder="Task Title" />
    </div>
    <div class="mb-3">
      <label for="taskCategory" class="form-label fw-bold">Description</label>
      <input
        type="text"
        [(ngModel)]="newTask.category"
        name="taskCategory"
        class="form-control"
        placeholder="Task Description"
        required
      />
    </div>
    <button type="submit" class="neumorphic-btn w-100">Add Task</button>
  </form>

  <!-- List of tasks -->
  <div class="card mt-3 shadow-sm">
    <ul class="list-group">
      <li *ngFor="let task of tasks" class="list-group-item d-flex justify-content-between align-items-center">
      <span>
        <input
          type="checkbox"
          [(ngModel)]="task.completed"
          name="taskCompleted{{ task.id }}"
          (change)="toggleTaskCompletion(task.id)"
        />
        <span
          [class.text-decoration-line-through]="task.completed"
          class="ms-2">{{ task.title }} {{ task.category }}
        </span>
      </span>
        <button class="neumorphic-btn delete" (click)="deleteTask(task.id)">Delete</button>
      </li>
    </ul>
  </div>
</div>
Copy and Paste the following code to tasks.component.ts :
import {Component, OnInit} from "@angular/core";
import {DataService} from "../services/data.service";
@Component({
selector: 'app-tasks',
templateUrl: './tasks.component.html',
styleUrls: ['./tasks.component.css'],
})
export class TasksComponent implements OnInit {
tasks: any[] = [];
newTask = { id: 0, title: '', category: '', completed: false };
constructor(private dataService: DataService) {}
ngOnInit(): void {
// Load tasks from LocalStorage when the component initializes
this.tasks = this.dataService.getTasks();
}
addTask(): void {
if (this.newTask.title.trim() || this.newTask.category.trim()) {
// Assign a unique ID and save task
this.newTask.id = new Date().getTime();
this.newTask.completed = false;
this.dataService.addTask({ ...this.newTask });
// Refresh the tasks list
this.tasks = this.dataService.getTasks();
// Reset the input fields
this.newTask = { id: 0, title: '', category: '', completed: false };
} else {
alert('Please provide both title and description for the task.');
}
}
toggleTaskCompletion(taskId: number): void {
this.dataService.toggleTaskCompletion(taskId);
this.tasks = this.dataService.getTasks(); // Refresh the task list
}
deleteTask(taskId: number): void {
this.dataService.deleteTask(taskId);
this.tasks = this.dataService.getTasks(); // Refresh the task list
}
}
Step 2 – Create Model for Task
Run Below Command to create model for Task:
ng generate interface model/tasks You will get "tasks.ts" file in model directory:
Copy and Paste the following code to tasks.ts:
export interface Task {
id: number;
title: string;
category: string;
completed: boolean;
}
Step 3 – Create Service for Tasks
Copy and Paste below code to data.service.ts for tasks data logic:
private TASKS_KEY = 'tasks';
// Fetch all saved tasks
getTasks(): any[] {
return JSON.parse(localStorage.getItem(this.TASKS_KEY) || '[]');
}
// Save the entire list of tasks
saveTasks(tasks: any[]): void {
localStorage.setItem(this.TASKS_KEY, JSON.stringify(tasks));
}
// Add a new task to the existing list and save
addTask(task: any): void {
const tasks = this.getTasks();
tasks.push(task);
this.saveTasks(tasks);
}
// Toggle the completion status of a task
toggleTaskCompletion(taskId: number): void {
const tasks = this.getTasks();
const task = tasks.find((t) => t.id === taskId);
if (task) {
task.completed = !task.completed;
this.saveTasks(tasks);
}
}
// Delete a task by ID
deleteTask(taskId: number): void {
const tasks = this.getTasks().filter((t) => t.id !== taskId);
this.saveTasks(tasks);
}Step 4 – Create Navigation Menu
Copy and Paste below code to app.component.html:
<ng-container *ngIf="showNavbar()">
  <nav class="navbar navbar-expand-lg sticky-top">
    <div class="container">
      <a class="navbar-brand" href="#">Digital Diary</a>
      <button
        class="navbar-toggler"
        type="button"
        data-bs-toggle="collapse"
        data-bs-target="#navbarNav"
        aria-controls="navbarNav"
        aria-expanded="false"
        aria-label="Toggle navigation">
        <span class="navbar-toggler-icon"></span>
      </button>
      <div class="collapse navbar-collapse" id="navbarNav">
        <ul class="navbar-nav ms-auto">
          <li class="nav-item">
            <a class="nav-link" routerLink="/notes" routerLinkActive="active">Notes</a>
          </li>
          <li class="nav-item">
            <a class="nav-link" routerLink="/tasks" routerLinkActive="active">Tasks</a>
        </li>
        </ul>
      </div>
    </div>
  </nav>
</ng-container>

<!-- Main content -->
<div class="container mt-4">
  <router-outlet></router-outlet>
</div>


Copy and Paste below code to app.component.ts:
import { Component } from '@angular/core';
import {Router} from "@angular/router";
@Component({
selector: 'app-root',
templateUrl: './app.component.html',
styleUrl: './app.component.css'
})
export class AppComponent {
constructor(public router: Router) {}
// Check if the current route matches "notes" or "tasks"
showNavbar(): boolean {
return this.router.url === '/notes' || this.router.url === '/tasks';
}
}
Step 5 – Angular Routing
Copy and Paste the following code to app-routing.module.ts at import section:
import {TasksComponent} from "./tasks/tasks.component"; Copy and Paste the below code to app-routing.module.ts "const routes: Routes" section:
{ path: 'tasks', component: TasksComponent },